Why do you want to Root Bluestacks 3? Let’s check out why. Actually, Bluestack is one of the most popular and widely used Android Emulators all over the world. Mostly, Bluestacks emulators are used by Windows users. Bluestacks 3 has been officially launched by the developers in the market for users to download. The latest version of Bluestacks 3 features major improvements and fixes to deliver the maximum performance. The interface has also been changed a little bit to give a new feel to the users.
Well, a lot of people are actually loving the latest bluestacks 3 version, the developers have really put energy and time in the update to make it a reliable android emulator for windows.
Since the new update came, many people are not able to root their bluestacks using the old methods. Today, in this article I’m going to share the easiest and fastest way to Root Bluestacks 3 within a few minutes.
This guide will help you in rooting your bluestacks 3 version on Windows OS. Well, the method is pretty simple and short to say. You just have to download two third party apps and install it on your PC in order to get the root access on your bluestacks 3 version.
Contents
How to Root BlueStacks 3 2018
Since Bluestacks 3 is available for both Windows as well as Mac operating systems, we cannot guarantee you that this method will work for Mac. The thirty apps are compatible for Windows operating system only. You can still give it a try if you want.

So, let’s hop into the guide without any further introductions. Moreover, you can also check out the Rooted Android Apps to use them on rooted bluestacks 3 android emulator. Also, check out the best tutorial to Root Android Without Computer.
Rooting Bluestacks 3 Latest Version using BS Tweaker (Part 1)
First of all, make a fresh install of Bluestacks 3 on your computer or laptop. Make sure you have no data stored in Bluestacks 3 version so that it’ll be easy for rooting.
- At first, you have to download the Bluestack Tweaker to root Bluestacks 3 version. You can follow up the link to download the BS tweaker directly on your computer or laptop.
- Let the download complete (Usually, takes a few minutes), once it’s done, open up the folder.
- Now drop the BS tweaker file into the directory where you have installed BlueStacks 3 version.
- After following the above steps, just right click on the .exe file of Bluestack Tweaker and run it as administrator.
- Running it as admin is mandatory here, otherwise, the root will not be installed properly and you have to install everything once again.
- The process is automatic, you just have to wait for the program to complete its work after giving it admin rights.
- It may take a few minutes depending upon the speed of your computer, the program will exit once the root has been successfully installed.
That’s it, now you have successfully installed the root privileges on your bluestacks 3 version. However, you cannot directly use the root access at the moment. You need to download another third party for managing your root privileges on Bluestacks 3. In order to do that, follow the part 2 section of this guide.
Finishing Bluestacks 3 Root using Root Managing App (Part 2)
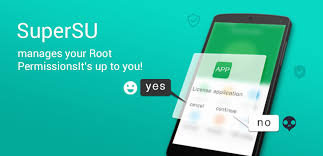
There are many Root managing apps in Google Play Store at the moment. Any Root manager app with a good rating is more than enough for managing root privileges. However, we recommend our readers to download the Super SU app from Google Play Store for the best possible results.
- Open up the Google Play Store on your Bluestacks 3 and search for “Super SU“.
- The app will show up in the first place of search results, or you can use our link as well for reference.
- Click on the install option and let the installation process complete on your bluestacks 3.
- Once the bluestacks 3 completes installation the SuperSU app, you can start using the SuperSU app for managing root permissions.
That’s all you need to do in order to get the root access and managing permissions. By using the BS tweaker, you are just installing the necessary Root files into your bluestacks 3 version. And by downloading the SuperSU app (Root Manager) you can manage the root permissions whenever you want for any app.
From now, you will be able to grant permissions for apps that require root permissions to perform. At the same time, you can deny the root permissions for certain apps as well. You will have full control over the root access with the help of SuperSU app.
How to Check Root Status in Rooted BlueStacks 3
Well, the above-mentioned method is working like a charm for rooting bluestacks 3 version. However, if you want to confirm whether the root has been installed or not, then follow up these steps the confirm the same. In case, if your Bluestacks 3 fails to load up Google Play Store, then just reboot and try again.
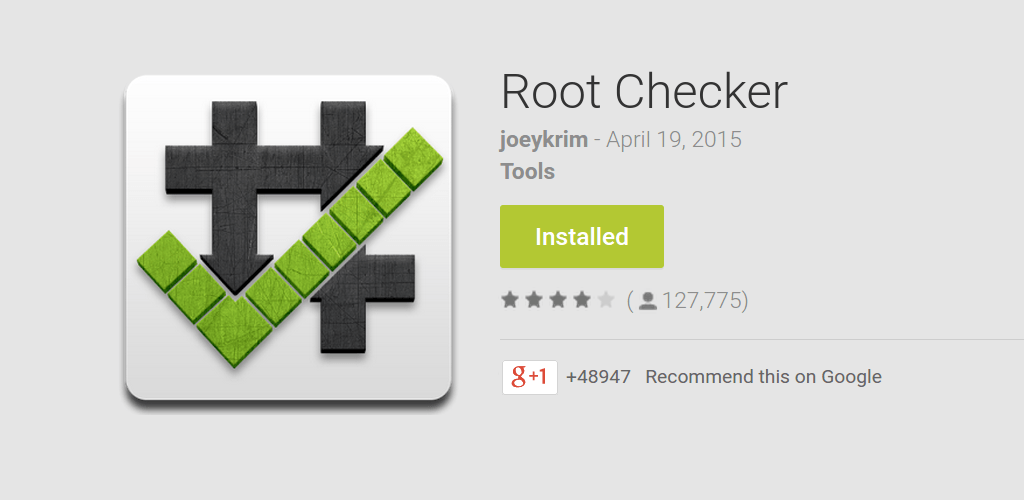
- Go to Google Play Store, type “Root Checker” in the search option.
- Most probably, the app will pop up in the first spot of search results, if it doesn’t then you can use our link and paste it in your browser to directly access the app in Google Play Store.
- The app’s size is pretty small, so the installation won’t be taking much time here to complete.
- Once the installation is successfully completed, open up the app and let it load.

- Now just tap “Verify Root Status” option, the app will start checking for the root access in your bluestacks 3.
- The app may require root privileges to show up the results, just grant the root permissions whenever it asks.
That’s it, most probably the app will show a green showing indicating that the root has been properly installed on your bluestacks 3 rooted android emulator. In case if it shows Red signal (Indicates root has not been installed properly) then uninstall the Bluestacks 3 completely from Computer or laptop. Now follow up this method to Root bluestacks 3 from the start again. Hope this helps you in installing root access on your bluetstacks 3.
Important Information
This method is applicable for Bluestacks emulator. You cannot use this method to install root access on any other emulators than Bluestacks. This method will work for almost all the versions of Bluestacks, however, the apps are specifically developed to root Bluestacks 3 version.
Wrapping Up
That’s the best way to root bluestacks offline installer in less than 5 minutes. Seriously, it won’t take you much time if you can follow the instructions carefully. Share this guide with your friends if you feel it is helpful. Of course, you can comment down if you have any issue with this trick.
Leave a Reply